
BlackMiner F1+ Review – FPGA Miner

 Start Your Crypto Journey with Binance The World’s #1 Exchange
Sign up through my link today and get exclusive trading discounts plus access to features like spot trading, staking, and passive income opportunities.
 Start your crypto journey now – don’t miss out!
Binance is the world’s largest cryptocurrency exchange by trading volume.
- Like
- Digg
- Del
- Tumblr
- VKontakte
- Buffer
- Love This
- Odnoklassniki
- Meneame
- Blogger
- Amazon
- Yahoo Mail
- Gmail
- AOL
- Newsvine
- HackerNews
- Evernote
- MySpace
- Mail.ru
- Viadeo
- Line
- Comments
- Yummly
- SMS
- Viber
- Telegram
- Subscribe
- Skype
- Facebook Messenger
- Kakao
- LiveJournal
- Yammer
- Edgar
- Fintel
- Mix
- Instapaper
- Copy Link

Note: Hashaltcoin sent me this FPGA miner for me to review. While I truly appreciate this partnership, I am making this review as unbiased as possible.
The BlackMiner F1+ is a new FPGA miner developed and manufactured by Hashaltcoin. The unit comes with three boards and can mine a wide array of algorithms, most of which are traditionally considered GPU-only.
The official specs state that the F1+ hashes like three or even four x6 GTX 1080Ti rigs (depends on algorithm) while having the power consumption of one. Not only that – unlike three rigs that require three sets of components (motherboards, RAM modules, etc), as well as in-depth tweaking, the F1+ comes as one plug-and-play unit. Is this too good to be true?
Let’s find that out, though first let’s take a quick look at the numbers:
BlackMiner F1+ Specs
- Power on wall: < 1.3 KW
- Power Supply: 1300 W or more (I am using my F1+ with a 1650W PSU)
- Volume:430x290x40 mm (with package)
- Weight:5 kg (net), 6 kg (with package)
- Noise Level: ~70 Db
Supported Algos, Hashrates and Power Draw:*
| Algorithm | Hashrate | Power Draw |
| lyra2z: | 93.0 MH/s | 600w – 950w |
| skeincoin: | 7.56 GH/s | 630w |
| xvg_lyra2rev2: | 324.0 MH/s | 550w |
| phi2: | 77.5 MH/s | 600w |
| phi1612: | 470.0 MH/s | 800w |
| tribus: | 4.4 GH/s | 880w |
| nexus: | 3.87 GH/s | 800w |
| bcx: | 26.0 GH/s | 720w |
| 0xbtc: | 35.2 GH/s | 1000w |
| keccak: | 34.9 GH/s | 1050w |
| xdag: | 22.6 GH/s | 900w |
| zp: | 35.2 GH/s | 1050w |
| verus: | 100.8 GH/s | 900w |
| keccakc: | 34.9 GH/s | 1050w |
| keccakd: | 34.9 GH/s | 1050w |
| amoveo: | 82.6 GH/s | 1050w |
| sha3d: | 13.6 GH/s | 1000w |
(*) Note: The F1+ is compatible with all of the algorithms for the F1 miner (download them from here). To use a F1 algorithm on your F1+, follow the steps detailed in the manufacturer official guide. Updating the bitstream on your miner is straightforward and fast – it takes around 3 minutes per algorithm. The three main steps are to download the algorithm, then flash the device and finally wait about 2 minutes for the miner to reboot.
Unboxing BlackMiner F1+ FPGA Miner
The unit came well-packaged, already assembled and ready to be used. The miner comes in an aluminum casing and looks (and feels) pretty similar to an Antminer. I haven’t noticed any flaws such as loose parts, scratches or signs of usage. From the exterior, the miner looks very decent – it’s rugged and well-designed.


Keep in mind that the F1+ does not come with a PSU. I use a regular 1600W EVGA one to power it. I believe that using a beefy PSU might increase stability and even power efficiency of the unit but I also understand why some of you might call it overkill. The manufacturer recommends 1300W PSU.
BlackMiner F1+ FPGA Installation
The installation process is pretty straightforward and simple.
1 PSU Connection
We start by connecting 2x 6-pin cables to each of the 3 boards and 1x 6pin cable to the controller.


Use a piece of cable to connect the green (PWR_On) and the black (Ground) pins together to simulate that the PSU is connected to a motherboard.
- Note: Some models (especially the older ones) might use a different color for PWR_On. Make sure to check the pinout of your PSU.
- Note #2: Some EVGA PSUs have a dedicated switch to power the PSU on without load. You might use it if your PSU has it.


2 Internet Connection
After that, we connect the ethernet cable and launch the F1+ unit. Then, we log into our router (either via wifi or ethernet) and check the LAN IP of the miner. By default, the address is 192.168.100.36 so you might also try that before you use your admin login credentials.
Once we accessed our F1+, we use the username root and password root
It’s a good idea to go to the password administration page and change it. To get there, go to the following tab: Miner Configuration -> Administration


3 Miner Configuration and Start Mining
We’re almost there. To start mining, go to the following tab: Miner Status -> General Settings
There we can set up to three pools with the respective worker name and password. Personally, I like to stick to the same pool and only change the server location. As you can see on the screenshot, I am using the bsod pool in all the three fields, with the only change being the location of the pool (Asia, Us or EU).
Finally, press on ‘save’ and ‘apply’. The miner will start working almost instantly.


4 Installing New Algorithms / Bitstreams
To install new bitstreams is super easy. New updates can be downloaded from their official page https://hashaltcoin.zendesk.com/hc/en-us/sections/360002467791-Firmware
- Download the algo you need
- Login to F1+ administration page
- Go to “system” -> “upgrade“
- Before doing any new modifications i recommend to create a backup for the current version. To do that click “Generate archive” and download it!
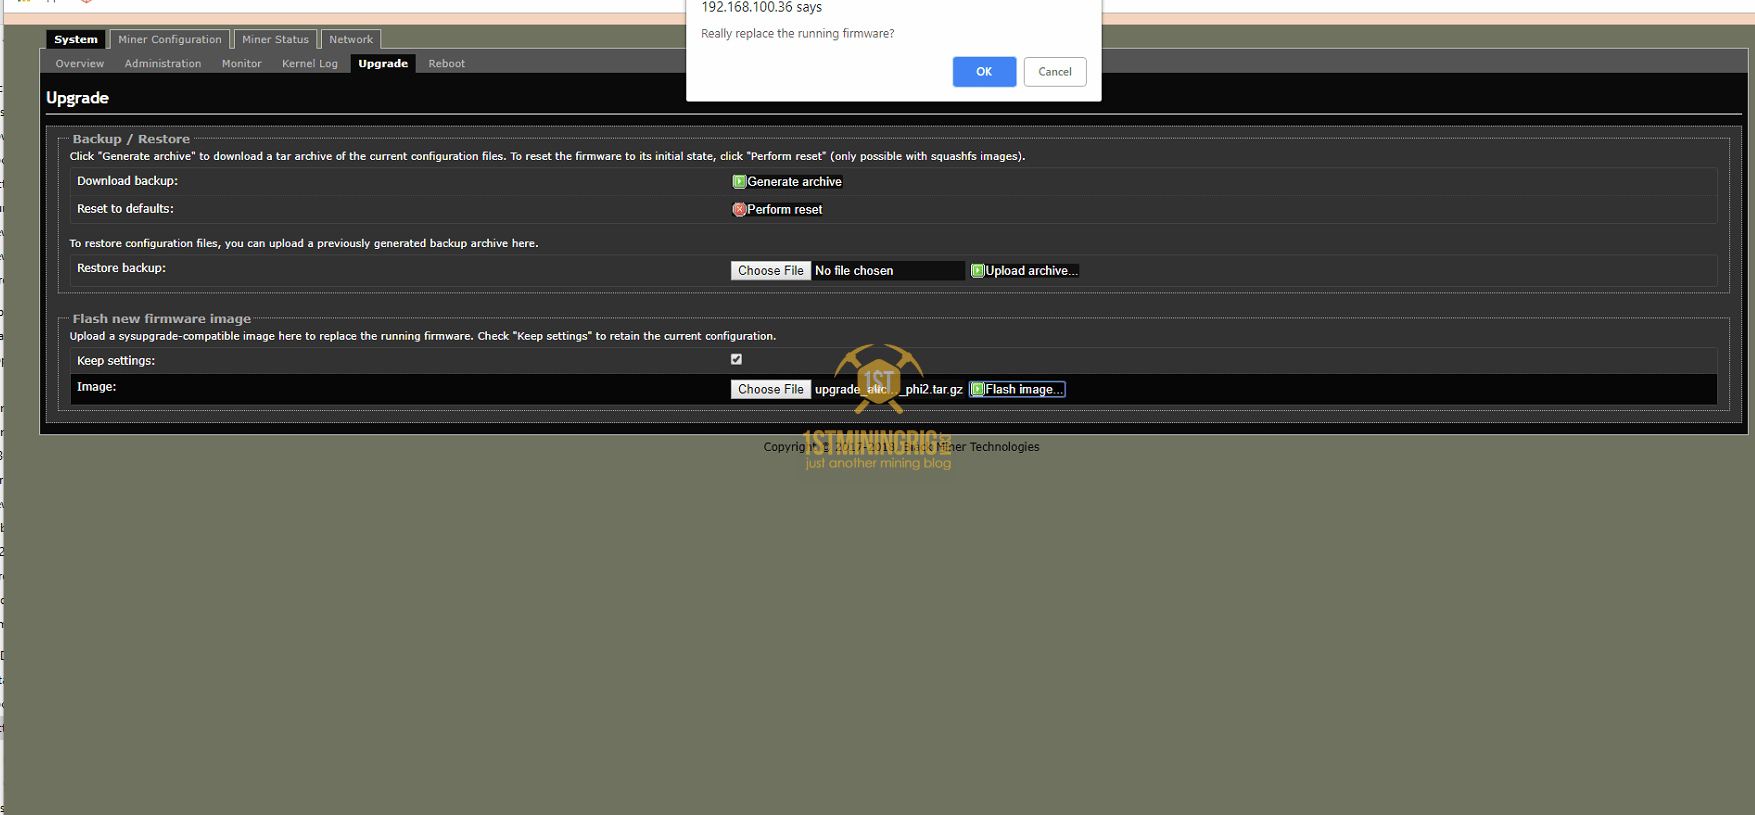
- To flash new bitstream click on “Choose File” under “Flash new firmware image” -> select the image and then click on “Flash image“
- This will take 2-3 minutes to finish the installation, once the installation is complete it will restart the FPGA to finish the setup
- When boot up is complete go to “Miner Configuration” and the new algo should be visible in the drop down menu from top left.
- You can now setup the pool, wallet address then save & apply and the machine will start mining.


5 Uninstalling Algorithms / Bitstreams
The Miner can have loaded up to 7-8 bitstreams (algorithms) at the same time. The memory of the miner is limited, so if you ever get to that limit, you will have to uninstall one of the bitstreams it already has before you can install another one. You know you have reached the 8 algo storage limit when you get this error when loading a new algo to your miner: “No space left on device cp: can’t create ‘/fpgabit/cgminer_keccakd.conf’: No space left on device” I will detail below how to remove existed bit file if storage is full
- Download WINSCP, install and then run it: https://winscp.net/eng/download.php
- New connection popup will be prompted and for “Host Name” add F1+’s ip address like “192.168.100.36” ; “Username” is “root” ; “Password” if you didn’t changed the default one then is the same “root“, last thing is to choose “SCP” on “File Protocol” then click “Login” (note that you must be connected to the same network where F1+ is)
- Once logged in you will notice that both sides are blank (check images); double click the “up folder” from right side for two times to have all the files listed, then go to “fpgabit” folder and there you will have all algos
- To successfuly delete an algo you will have to do the following: for this example i am going to take the PHI2 algo ; there are two files that needs to be deleted ; prefer to make a backup and then delete it ; select both files “cgminer_phi2.conf” and “fpgaminer_top_phi2.bit” ; right click -> Download -> Download and Delete
- That’s it, now you should have enough space to install new bitstreams


Blackminer F1+ Benchmarks
Lyra2z Mining Hashrate & Power Draw
Lyra2z Coins: Actinium (ACM), Mano (MANO), Alspenschilling (ALPS), Criptoreal (CRS), Infinex (IFX), MCT+ (MCT), Stim Coin (STM), Taler (TLR), ZCore (ZCR), GINcoin (GIN) forked to x16rt
- Hashrate: 93 Mh/s
- Power Draw: 880w


Skein Mining Hashrate & Power Draw
Skein Coins: Skeincoin (SKC), Argo (ARGO), Ferrum Coin (FRM), Spedo (SPO), TIMECoin (TIMEC), Ultima (ULT)
- Hashrate: 7.56 Gh/s
- Power Draw: 625w


Verge (XVG) Lyra2rev2 Mining Hashrate & Power Draw
- Hashrate: 324 Mh/s
- Power Draw: 550w


PHI2 Mining Hashrate & Power Draw
PHI2 Coins: Lux (LUX), Argoneum (ARG)
- Hashrate: 77.5 Mh/s
- Power Draw: 585w


PHI1612 Mining Hashrate & Power Draw
PHI1612 Coins: Folm (FLM), Fonero (FNO), Seraph (SERA)
- Hashrate: 470 Mh/s
- Power Draw: 800w


Tribus Mining Hashrate & Power Draw
Tribus Coins: Denarius (DNR), BZLcoin (BZL), Keyco (KEC), Scriv (SCRIV), Virtus (VRT), Zula (ZULA)
- Hashrate: 4.4 Gh/s
- Power Draw: 890w


Nexus Mining Hashrate & Power Draw
- Hashrate: 3.87 Gh/s
- Power Draw: 790w


BitcoinX Mining Hashrate & Power Draw
- Hashrate: 26 Gh/s
- Power Draw: 700w


0xBitcoin Mining Hashrate & Power Draw
- Hashrate: 35.2 Gh/s
- Power Draw: 1040w


Keccak Mining Hashrate & Power Draw
Keccak Coins: SmartCash (SMART), MaxCoin (MAX)
- Hashrate: 34.9 Gh/s
- Power Draw: 950w


Keccak-C Mining Hashrate & Power Draw
Keccak-C Coins: Creativecoin (CREA)
- Hashrate: 34.9 Gh/s
- Power Draw: 130w


Keccak-D Mining Hashrate & Power Draw
- Hashrate: 34.9 Gh/s
- Power Draw: 130w
Dagger (XDAG) Mining Hashrate & Power Draw
- Hashrate: 22.6 Gh/s
- Power Draw: 130w


Zen Protocol Mining Hashrate & Power Draw
- Hashrate: 35.2 Gh/s
- Power Draw: 1070w


Amoveo Mining Hashrate & Power Draw
- Hashrate: 82.6 Gh/s
- Power Draw: 1080w


Blackminer F1+ Profitability
Since the F1+ is a multi-algo FPGA miner, you have to keep a constant eye on the market and chose the best options to mine.
There are many tools that might help you to chose the best coin to mine. For instance, you might have one favorite coin you believe in so you decide to mine it and hold no matter what.
Or, if you are more into instant profit, the following site might help you to chose the best coin of the day: https://www.hashaltcoin.com/en/caculation
For more details on a specific coin, you might want to use whattomine, cryptoz0ne, coincalculators or coinwarz. For example, Denarius has been an interesting crypto these past days with daily earnings of up to $8 (despite me having pretty expensive electricity here).
From my experience, Whattomine gives pretty accurate numbers, which is why I am listing it here. I've tested it mainly with Dinarius, Zen Protocol so far.


Since the F1+ unit hashes and consumes as advertised too, you can use those websites to accurately choose the right coin to mine every day.
Now, how does the F1+ compare to the conventional GPU rig?
If we take the same Denarius (tribus) coin as an example, a 6x GTX 1080Ti mining rig would hash around 720 Mh/s and "earn" you -$1 -/+ a day. While having comparable power consumption, a F1+ outputs 4400mh/s, which is why profits are around $8 a day.
Another example for Tribus. A rig of 6x GTX 1080Ti hashes around 765 Mh/s with a power consumption of 1100W. The F1+ hashes 4400 mh/s while consuming 900W. If you’d like to reach the 4400 Mh/s mark by using GPUs, you’d need 35 GTX 1080Ti cards that would consume around 5000W.
Besides, the F1+ costs about half of what a 6x GTX 1080Ti rig does, which makes this FPGA a pretty interesting choice.
Here’s another thing to consider. One can argue that the strongest part of GPU mining is its flexibility. A good GPU is compatibile with a wide array of different coins and no matter how much the market changes, there is almost always a profitable coin to mine. That's why overall, I've always invested most of my money into GPU rigs, not ASICs. I usually don't want to bet on one single coin or even algo.
Here's where the Blackminer F1+ is better than an ASIC – as an FPGA, it has some of that flexibility I like so much about GPUs. The way it can mine a wide array of algorithms makes it like a spider – you can lose a leg or two.. or five, and still stand on your feet.
Blackminer F1+ vs Other FPGAs


The F1+ is not the only FPGA there is. I wonder, how does it compare to its competency?
The first competency that comes in mind is the F1 – the predecessor of the model we are talking about in this review. As expected, the F1+ is superior to its predecessor in every aspect.
Compared to the BTU9P, the F1+ costs less and can mine DigitalCruncher (zen protocol) and 0xToken around 180% faster.
Compared to the new MA-X1, the F1+ can mine Keccak ~269% faster (other MA-X1 benchmarks are not available) at around 300% higher power draw. That being said, the F1+ is about 20% cheaper than the MA-X1, making it a better ROI for those who don't have awfully expensive electricity.
Compared to the BCU 1525, the F1+ is more cost-efficient but less power-efficient. If we talk about upfront investment, the F1+ is cheaper and gives you more hashes per dollar invested (as detailed below). On the other hand, the F1+ outputs less hashes per Watt.
As we can see in the comparison chart below, the BCU 1525 is 22% more power efficient when mining Keccak-zp, 54% more power efficient when mining Lyra2z and 14% more power efficient when mining Keccak.
However, when it comes to cost efficiency, we see that the F1+ is:
Keccak-zp – 133% more cost-efficient (35 gh/s for $3750 vs. 15 gh/s for $4000)
Lyra2z – 55% more cost-efficient (93 mh/s for $3750 vs. 60 mh/s for $4000)
Keccak – 177% more cost-efficient (35 gh/s for $3750 vs. 12.6 gh/s for $4000)

In Conclusion
The Blackminer F1+ FPGA stands somewhere between an ASIC and a GPU. On one hand, it hashes several times faster than any modern GPU rig but on the other hand, it is more flexible than the conventional ASIC. That combination might give the F1+ great longevity and make it a competent miner for a pretty long time.
If we also take into account the price of a F1+ unit, we could say that for now, this miner might be a safer investment than the conventional ASIC. Does that mean that you should get one? The answer is up to you – investing into mining equipment always involves risks no matter how good or promising that equipment is.
About the miner itself, I am giving it a positive rating because it hashes as advertised. Build quality seems good too and the company seems pretty customer-oriented so far. Based on the company's track record, Hashaltcoin seems to deliver in time too, which is always welcome.
That's my experience with the Blackminer F1+, please share yours in the comments below.
Start Your Crypto Journey with Binance The World’s #1 Exchange
Sign up through my link today and get exclusive trading discounts plus access to features like spot trading, staking, and passive income opportunities.
Start your crypto journey now – don’t miss out!Binance is the world’s largest cryptocurrency exchange by trading volume.


